In today’s post, we’ll explore how to import attachments to Sales Orders in Business Central using web services.
This is very useful to link external applications with our ERP.
Let’s dive in!
Table of Contents
- Web Services Operation Demonstration in Postman
- AL Code Explanation
- Consuming the Web Services in Postman
- Conclusions
1. Web Services Operation Demonstration in Postman.
In this section, we’ll go through a video demonstration showing the functionality of the web services in action using Postman.
2. AL Code Explanation.
Next, we’ll break down the AL code used to create these web services. We’ll explain how each function works and how they contribute to the overall functionality.
3. Consuming the Web Services in Postman.
After understanding the code, we’ll walk you through the steps of consuming these web services using Postman. We’ll cover how to set up, configure, and make requests to these web services.
Before getting to how to run it in Postman, I have created in this project 2 installation and upgrade codeunits that allow to automatically configure the web services.
Installation Code
Once the service is installed it will look something like this:
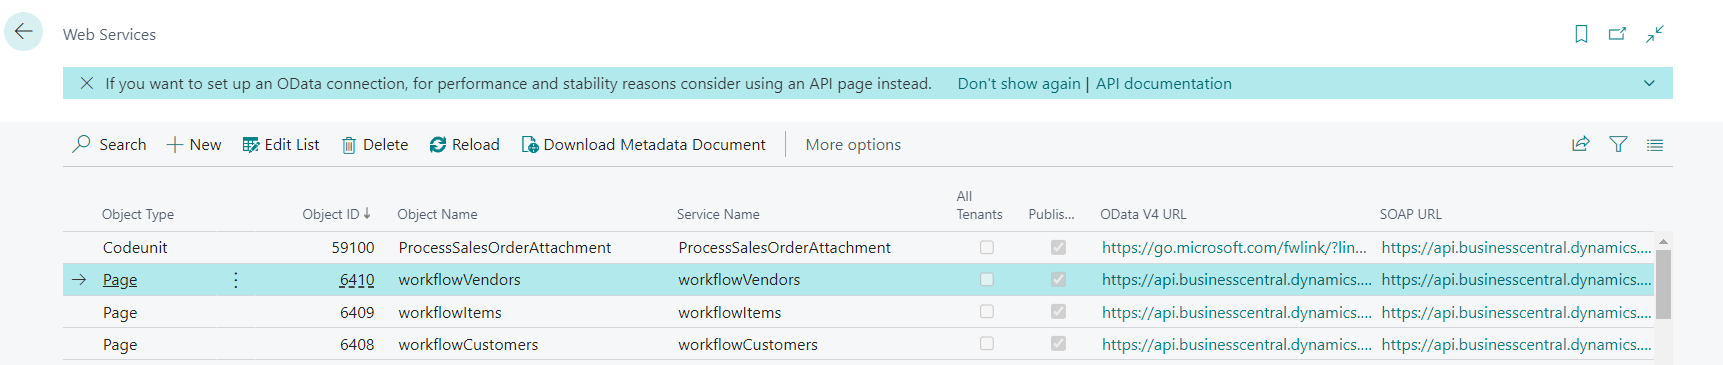
For more information on this type of Web Services, visit this previous Post or the official Microsoft documentation.
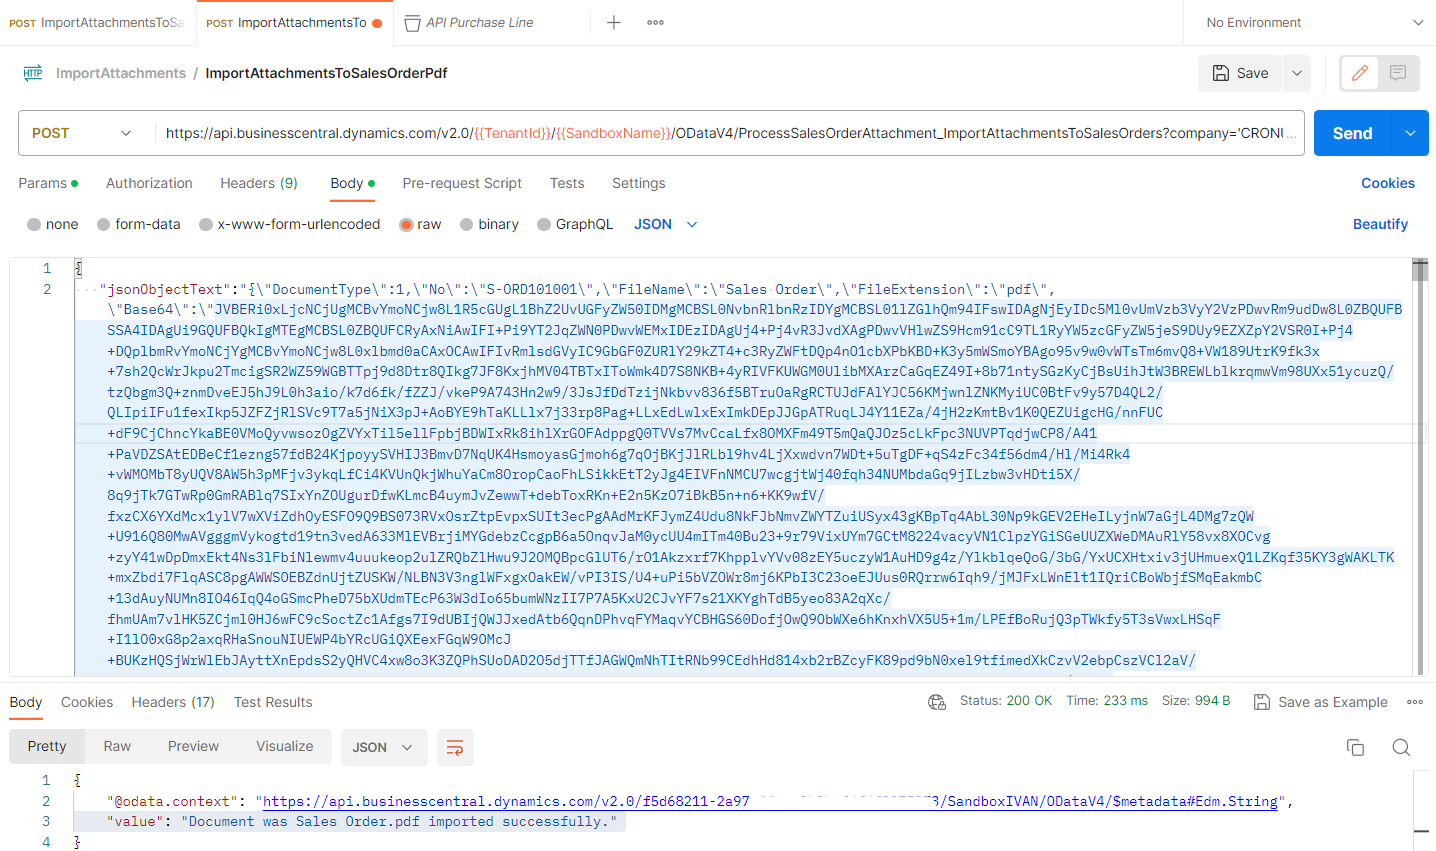
Creating the URL
We will use the following URL format which would be:
https://api.businesscentral.dynamics.com/v2.0/{{TenantId}}/{{SandboxName}}/ODataV4/ Service_Name +'_'+ Method_Name + Company='Company Name'We are left with something similar to the following:
https://api.businesscentral.dynamics.com/v2.0/{{TenantId}}/{{SandboxName}}/ODataV4/ProcessSalesOrderAttachment_ImportAttachmentsToSalesOrders?company='CRONUS%20USA%2C%20Inc.'Body Request
{
    "jsonObjectText": "{\"DocumentType\":1,\"No\":\"S-ORD101001\",\"FileName\":\"Salto Angel\",\"FileExtension\":\"jpg\",\"Base64\":\"StringBase64\"}"
}
Postman Image
4. Conclusions.
In conclusion, this code illustrates a powerful tool for automating document attachments to Sales Orders within Business Central. It showcases the potential of web services which can be consumed by any application, be it mobile, web, or desktop, thereby enabling diverse workflows and extending the capabilities of Business Central.
The key procedure, ImportAttachmentsToSalesOrders, takes a JSON input and attaches a document to a Sales Order. It parses the JSON parameters, retrieves the Sales Order, validates the filename and file extension, converts the Base64 string of the document into an Instream format, and saves it.
Remember, this web service is flexible, supporting a variety of document types, and can be adapted to almost any page within Business Central with minor modifications. Its versatility can greatly enhance your Business Central operations, particularly where document attachments are crucial.
In the digital age, data integration across platforms is vital. Automating document attachments through this method can streamline operations, minimize manual input errors, and boost business process efficiency.
This approach highlights the adaptability of Business Central, its ability to support complex workflows, and how it can be customized and extended to meet the evolving needs of your business.
Code
You can get the whole project at this GitHub link.
I hope this has been helpful.
This is so awesome! Is there a way to attach a file to Sales Order if you only have a URL to the file? Like I have an signed Adobe Sign pdf URL, how can I attach the file (not as link) to a Sales Order or Sales Quote using al code?
Hello, sorry for the delay, I would think that it is possible, instead of sending the Base64, it could be changed to receive a URL, and within the Codeunit ProcessSalesOrderAttachment an HttpClient could be used to download the file within BC, then obtain the Base64 and continue with the rest of the process.
Thanks..It worked like a charm..
Thank you!