Today I want to show in a simple way how we could create a small application in Xamarin Forms to connect to Business Central, for this we are also going to use Azure Functions as a microservice that helps us create a simpler code when making requests in our app.
Before I start showing and explaining the code, I’m going to start by showing what our cross-platform application looks like as the final result of this post.
For this application, I am going to take as a sample the Items page of the Cronus company, to take advantage of the fact that it has some images.
This is what iOS, Android and UWP apps looked like.

Business Central
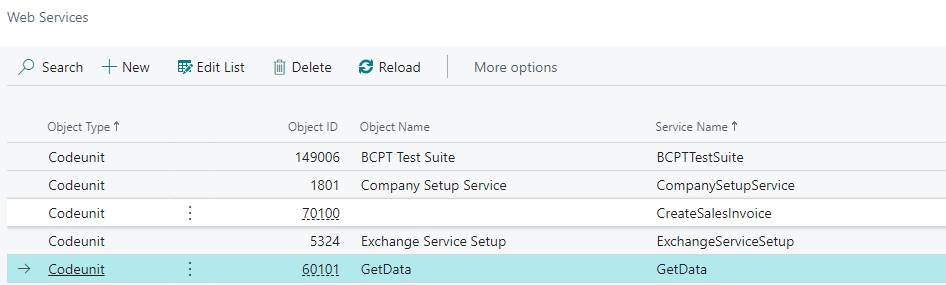
To start with how we achieved the above, let’s first talk about the 2 codeunits written in Business Central:
Get Data:
This codeunit takes the Item table and converts it to Json format. Additionally, we convert the image that the Item has into a base 64 text.
You can also notice that I filtered the items. The purpose was to show the majority that had images so that the post was more illustrative. The idea is that we can create any filter that we can even live by parameters.
Helper:
The Helper procedure is a generic method that allows you to obtain the converted image of the Items, Customer, Employee, and Vendor tables for future use.
For this, it is necessary to obtain a RecordRef and then the number of the field that contains the image.
In the case of the Item, it would be like this: Ref.Field(92)
It can be seen that the Items that do not have images, they will return as output TextOutput := 'NoPicture.png';, this is in order to use in Xamarin Forms, a photo that represents the absence of an image.
I know that one way to consume a Business Central API is to create a Page type API, but in this example, we are going to use a Codeunit published as web services, which we are also going to use as OData and not as soap.
The trick to do it is to follow the following formula:
https://api.businesscentral.dynamics.com/v2.0/{{TenantId}}/{{SandboxName}}/ODataV4/Service_Name +'_'+ Method_Name + Company='Company Name'This is what our published codeunit would look like:
https://api.businesscentral.dynamics.com/v2.0/{{TenantId}}/{{SandboxName}}/ODataV4/GetData_GetItemsToJson + Company='Company Name'More information is in this previous post or in the official documentation.
This is a cross-cutting project that has been created in order to organize and simplify what will be our Xamarin Forms code and our Azure Function that we will use as a bridge between Xamarin and Business Central.
In this project we will have the following models:
Item, Output, and Response.
We will also have the following services:
BCApiServices and RequestBridge
And last but not least, all the handling of our constants that we will use (Oauth2, URLs, Etc)
Models
Item Model:
This model will be the one we will use to deserialize when we call our codeunit GetData_GetItemsToJson, additionally, we will use some auxiliary bindings to show our images and our price in dollar currency format.
Response Model:
The response model is a generic model that will allow us to store the response of our API call, if it is successful in the Result property we will store our JSON with the list of items.
In the following way, we would use our Response Model:
Output Model:
Because the responses from Business Central are in JSON format with the OdataContext and Value keys (which is where our Items List will be written), it is necessary to create a model that has these two properties and then easily allows its deserialization.
In the following way, we would use our Output and Item model:
Services
Api Services:
This service, which is the heart of our Azure Function, will allow us to connect to Business Central via OAuth2 and additionally call the method that contains our list of Items.
This service could be said to be universal or generic since it works for any method that we have published in Business Central, later in another tutorial, we will modify it to not only obtain lists but also to be able to pass parameters to our methods or better yet, modify records in Business Central.
RequestBridge:
This service will be the one that we will use in Xamarin Form to call our Azure Function that contains the list of our Items.
Helper
Constants:
This class will contain all the constants related to Oauth2 and Urls called in the bridge created in Azure Functions.
Azure Functions
Since we have already explained our Api Services in our shared project, our Azure Function will be very simple and robust at the same time, where we will have everything related to Oath2 encapsulated and this will make the call from Xamarin simpler.
Note that we have created the function with AuthorizationLevel, which is necessary once published in azure, find the default code and use it in the request header of our service.

Xamarin Forms
Finally, we enter the Xamarin Forms project.
This project was created using the Visual Studio base template. The DataStore service was modified in order to adapt it to our needs, such as using the previously shown Item model that is compatible with our output JSON.
Likewise, I will give a brief overview of the most important classes that were created or modified.
View of our solution explorer of the Xamarin Forms project.

DataStore.cs
I would say that this class is the heart of the application, here we will connect with our Azure Function that will return the list of Items, we will do this through the RequestBridge shown previously.
ItemDetailPage.xaml
A new View has been created, which includes the image of our Items and other compatibility with the fields of the new Item class.
ItemViewModel.cs
This class remains almost the same as the original one presented by the template, except that it was adapted to our new Item class where we will now use No as the key field.
ItemDetailPage.xaml
As with ItemDetailPage.xaml, this view has been adapted to our Item class, where we will show the detail when we select an Item, these details for this example are No, Description, Image. But in the future we will be able to put many more, including allowing modification and updating in Business Central.
This is what this view would look like on all 3 platforms:

ItemDetailViewModel.cs
And this would be the viewmodel of our detail, here it was also adjusted so that it would take our Item class.
With this we see that it is not so complicated to connect with Business Central from .Net and we see that we can develop countless possibilities through Xamarin, such as obtaining, creating and updating data, and this week from Maui.
Code
Finally, I want to share the 2 repositories created for this example, the one containing Business Central code and the Xamarin/Azure Functions project.
I hope this is useful to you.