Since the arrival of Business Central on Cloud, a big question arose, how to now connect Local Files, Printers, and other peripherals with the ERP? To achieve this there are several ideas, such as One Drive, an SFTP server, or the one I want to show in this post, through a Local Service on the PC/Server/Laptop that needs to connect and expose it publicly so that later from Business Central it allows the relevant operations like read/write/delete and to create this exposure, we will use Azure Relay.
Before starting to explain how to achieve this connection, I want to comment that this post is inspired by Kine’s post: “UNATTENDED ACCESS TO LOCAL RESOURCES – WCF RELAY“, but I will try to show how to create the project from scratch and do all the settings step by step.
Project Overview
Demo Video
Create a namespace in the Azure Portal
To create a connection between our on-premises service and the relay service using a suite of WCF relay bindings we must first configure the namespace in the Azure portal.
- Create a Resource
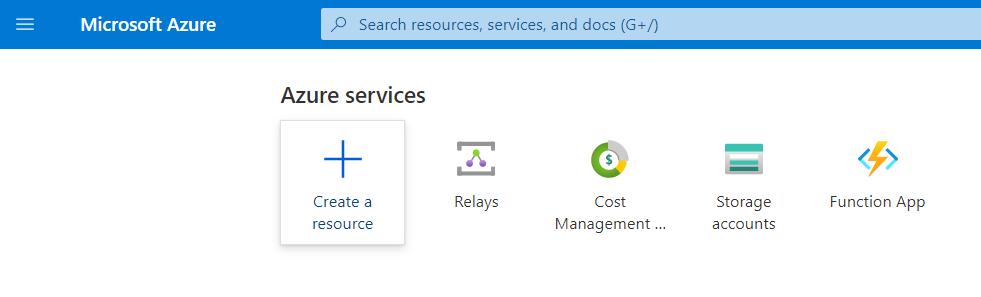
- Search Relay

- Create namespace

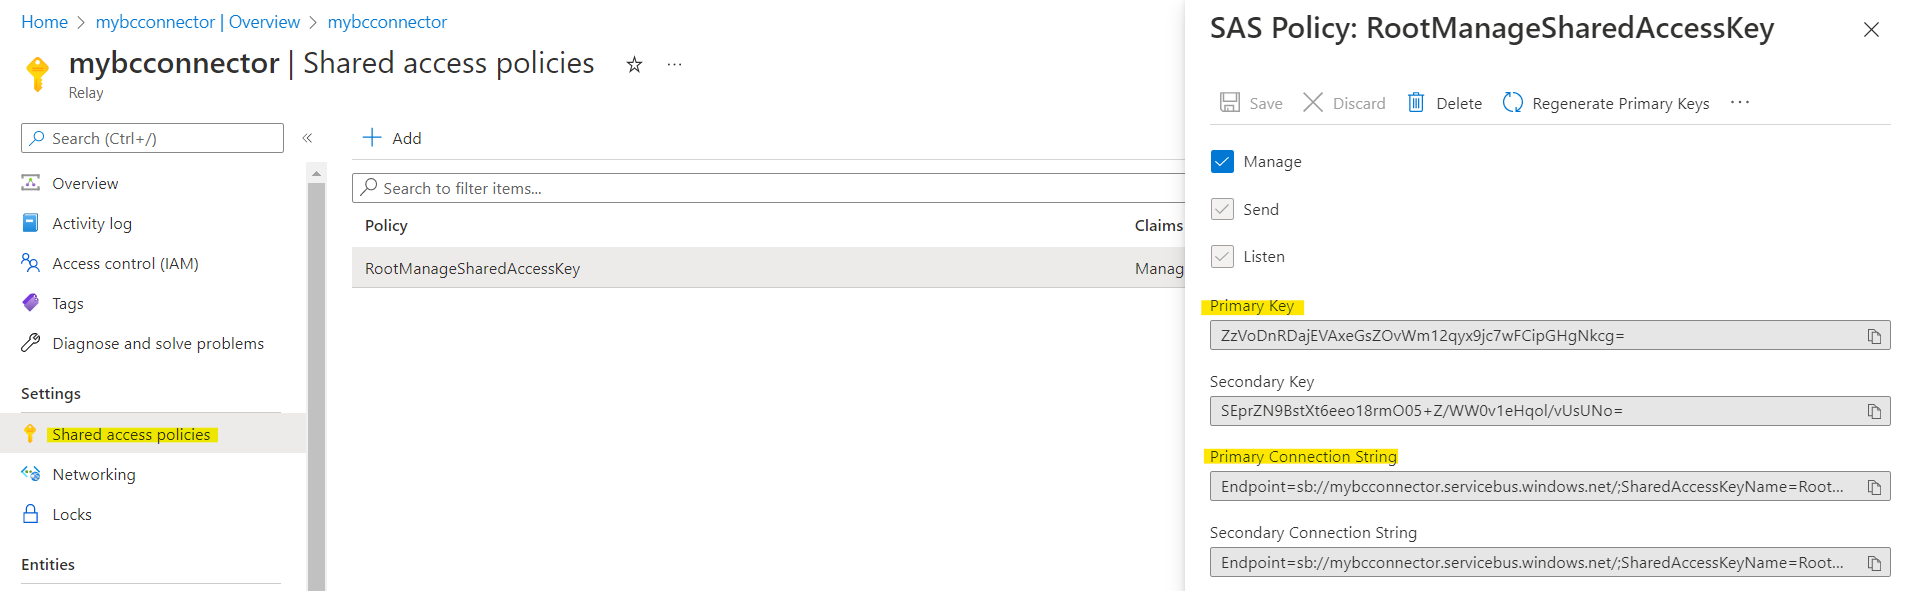
- Copy the primary key and primary connection string from the shared access policies
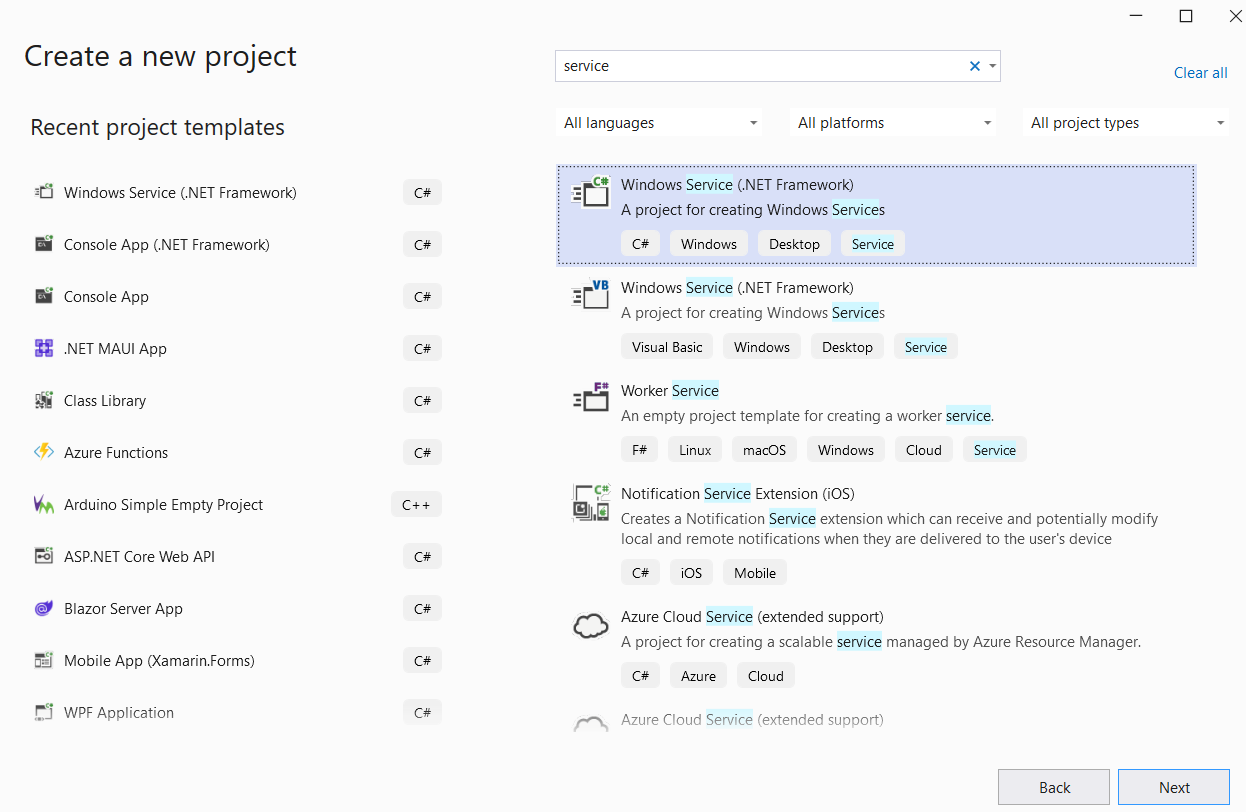
Create local windows service
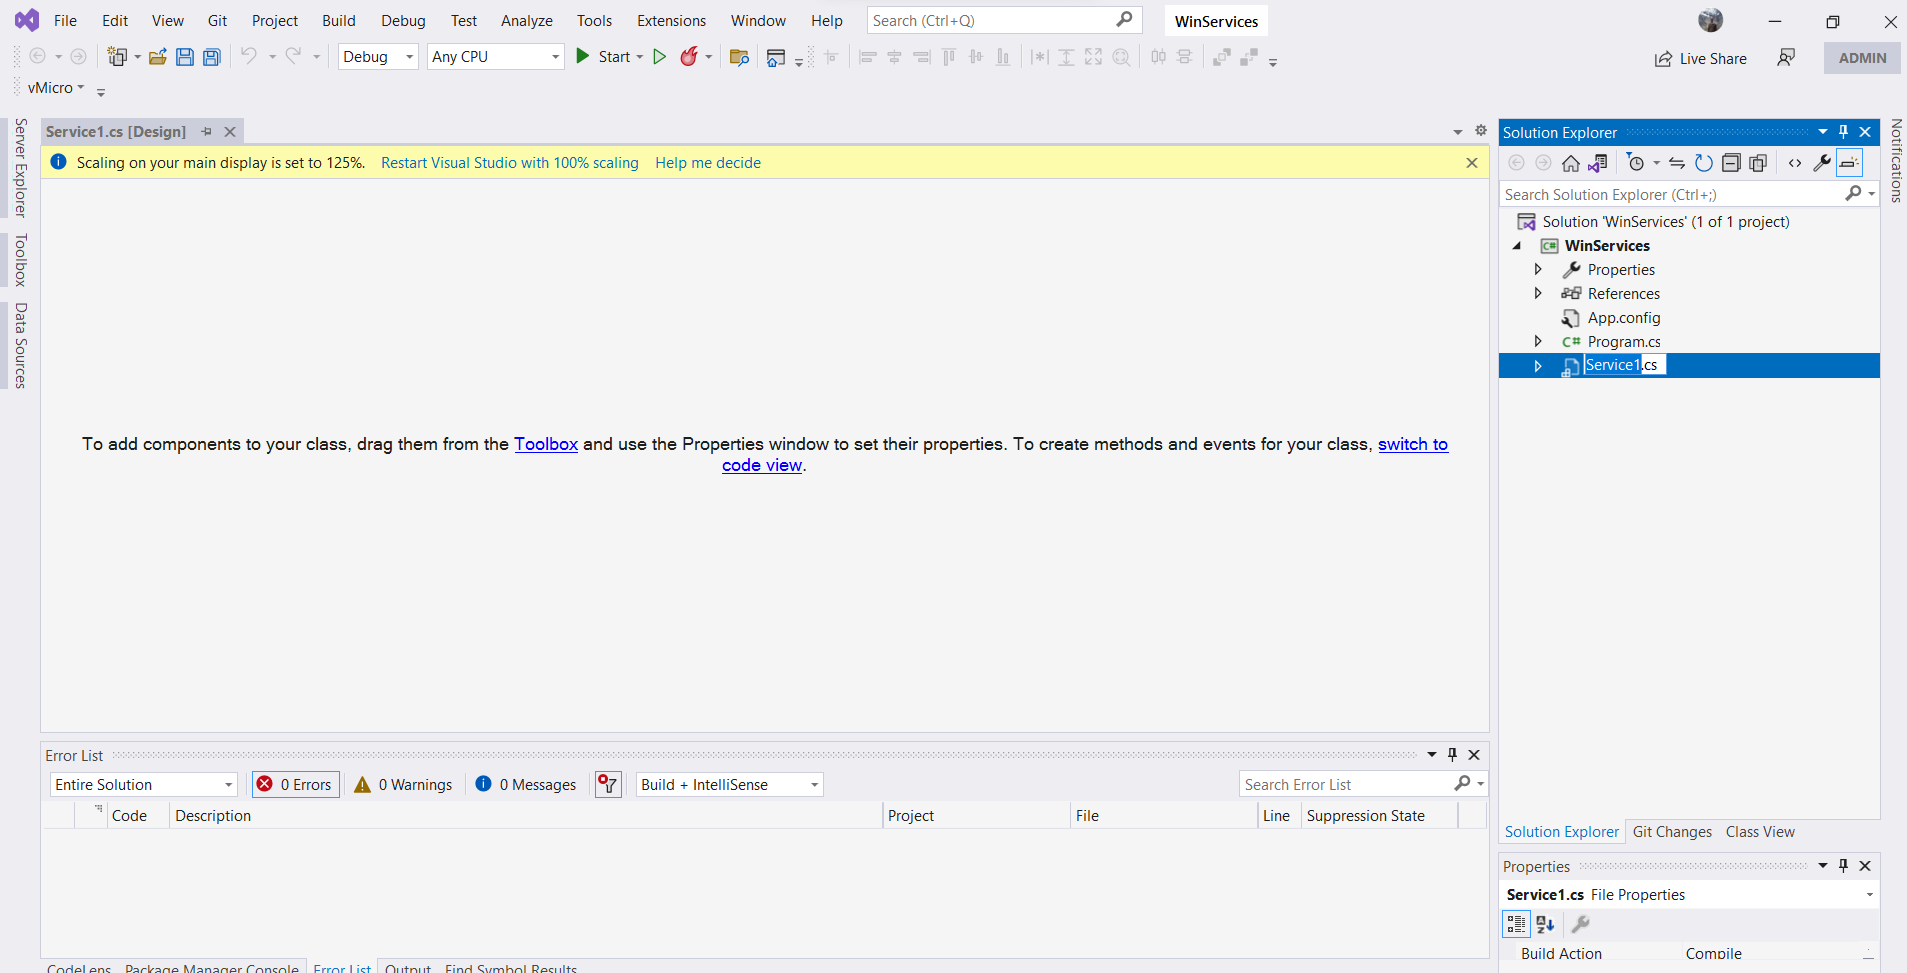
- Create a new project using the Windows Services template
- Choose the name of the project

- We change the name of the service Service1 to whatever we like.
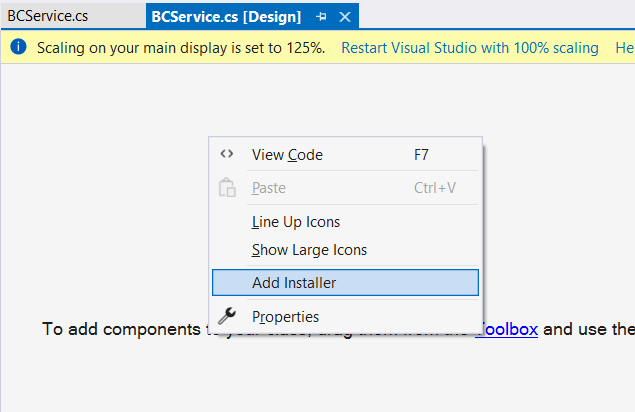
- We click on the service, and in the tab that opens, we right-click anywhere on this tab and the following menu will appear, to which we click on Add Installer
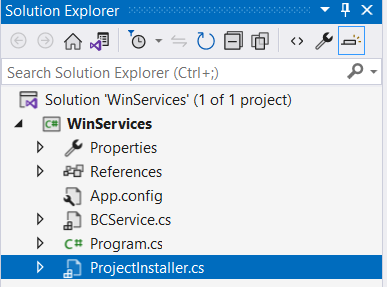
- A new object will be created called: Projectinstaller.cs
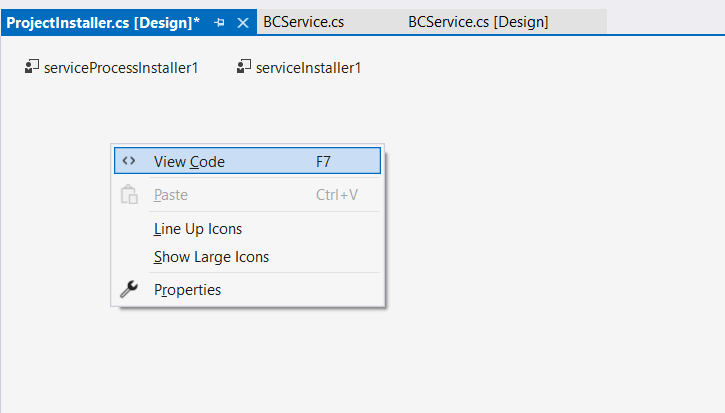
- Similar to step 4, we right-click on this new tab and then on View Code.
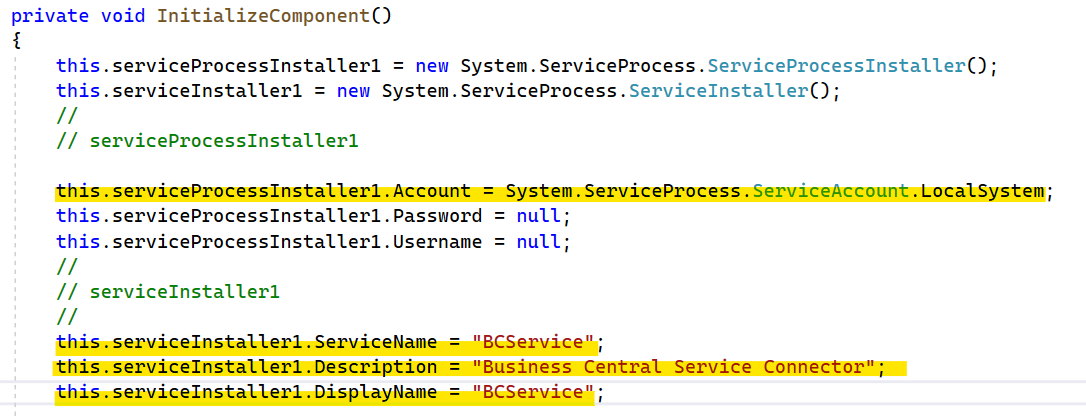
- We add the lines in yellow, this will be to configure the description and name of the service and the account that will execute it.
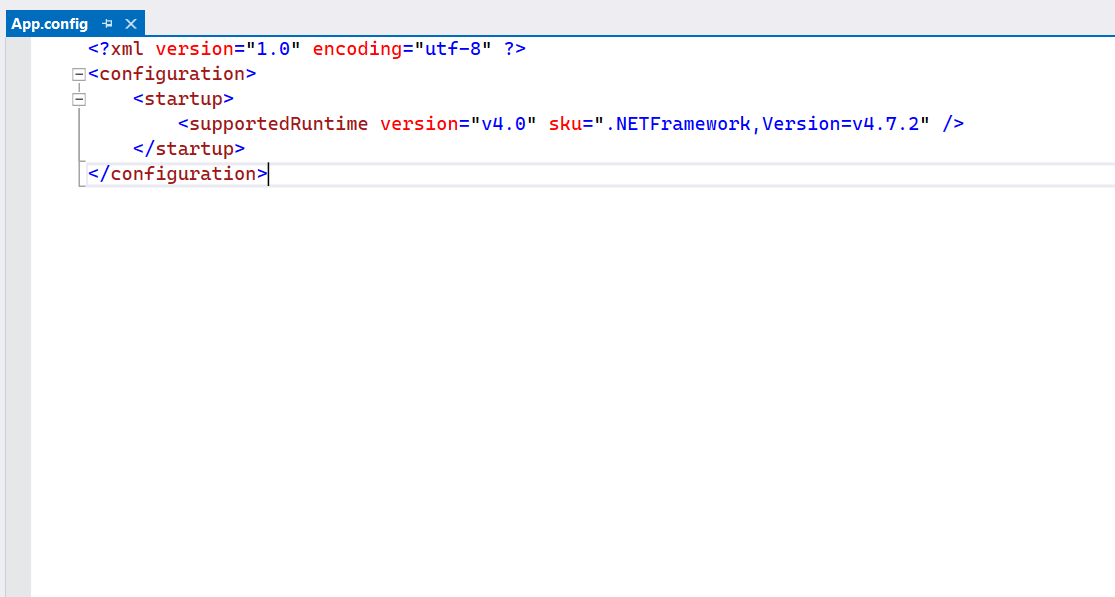
- We click on the App.config and we see that it only has a Startup section
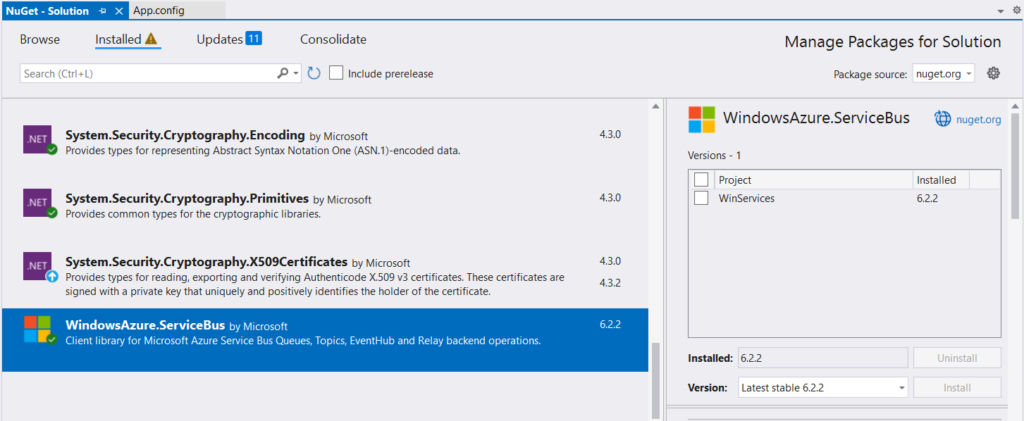
- Now, we install the NuGet: WindowsAzure.ServiceBus
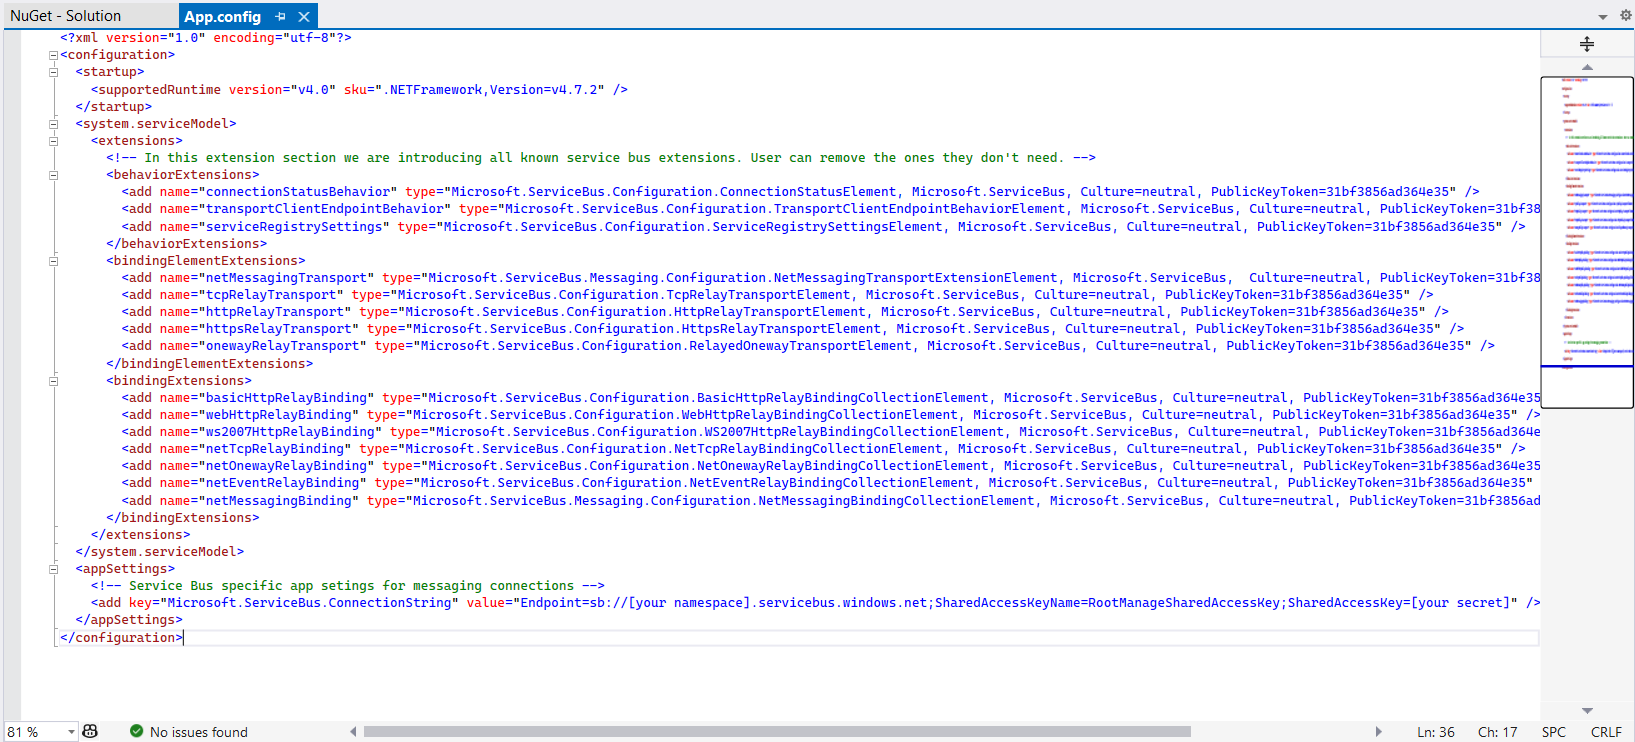
- Once the WindowsAzure.ServiceBus NuGet is installed, if we go to App.config we will be able to see that it has changed significantly, whereas now we have a connection string that will be the one that will allow us to link with the Azure WCF Relay.
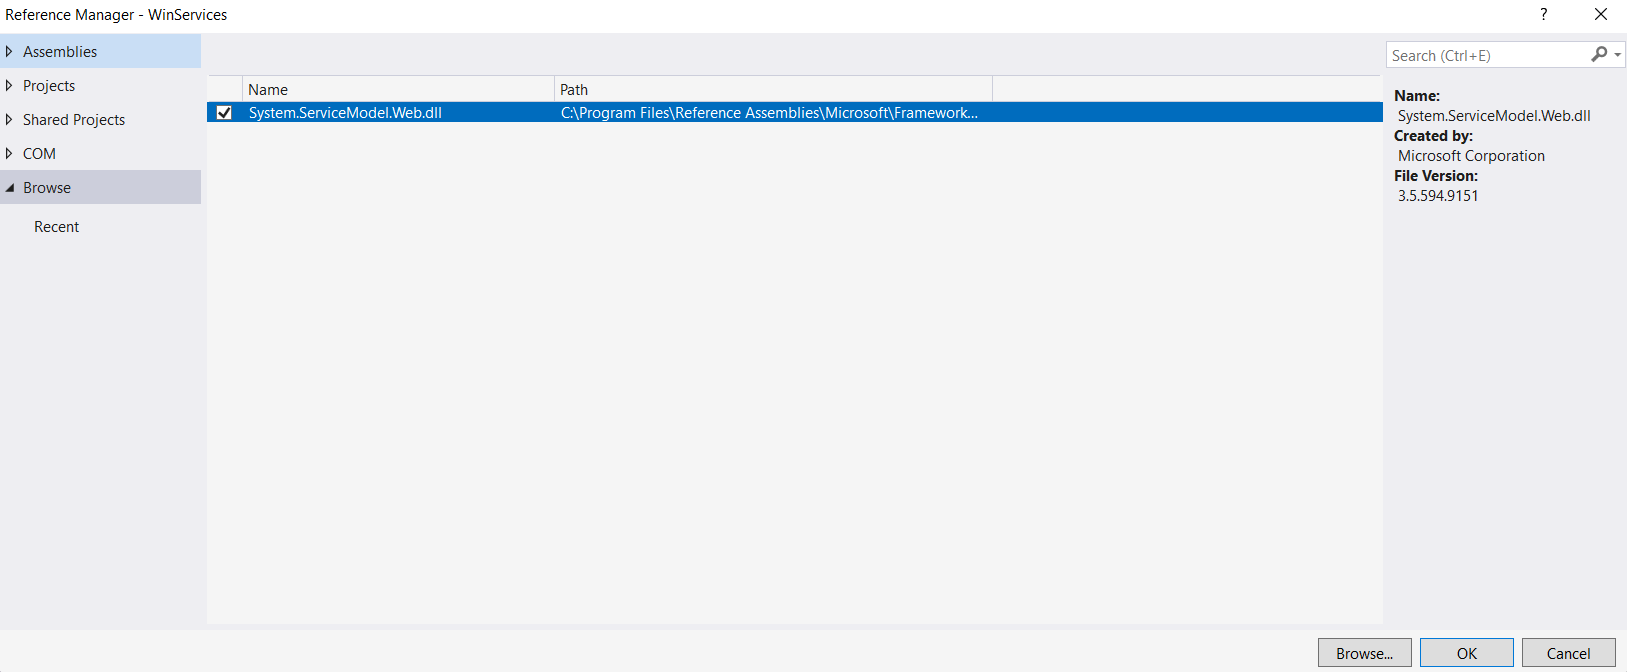
- But we will not configure that connection string yet, but first, we will add a necessary dll for the project: System.ServiceModel.Web.dll
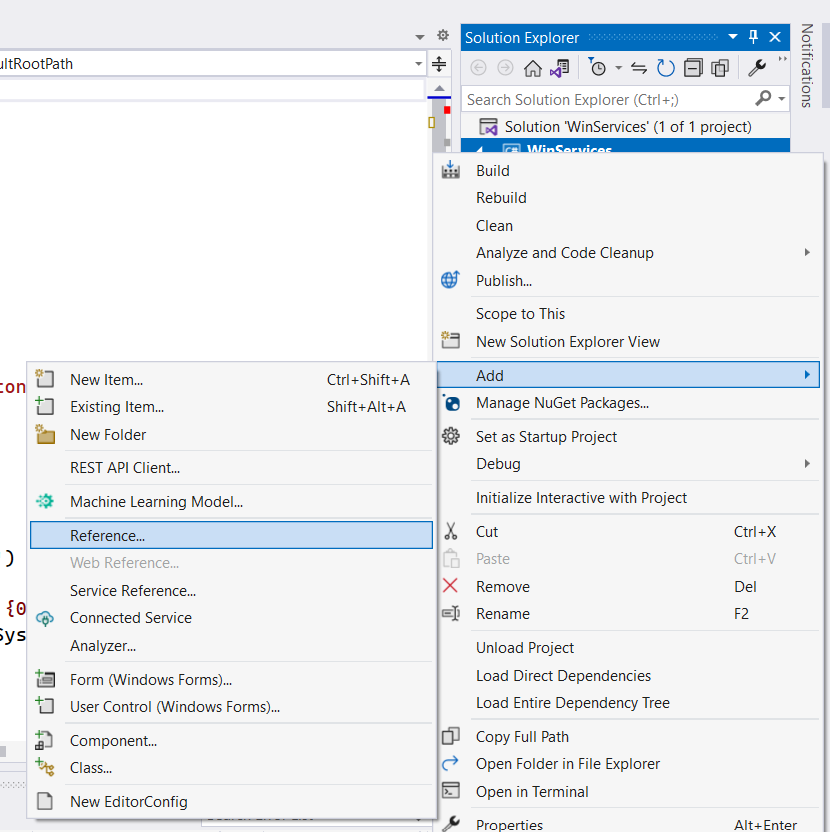
- Through Browse we can find it in the path shown in the image
- Let’s add the ILocalServices interface
This contains the operations that we can execute on the Local PC, such as List files, upload, download or delete.
- We add the definition of the interface.
Here we will define the logic of the methods declared in the interface, and additionally, we will configure the root folder that we want to expose, through the DefaultRootPath variable. In my case I have done it as follows:
string DefaultRootPath = "C:\Users\ivanr\Dropbox\IvanSingleton\";- Now, we modify the class program.cs
This modification that is made is to be able to debug the code and it is totally optional
- Now we need to configure our Local Service.
We want it to connect to the Azure WCF Relay when it starts up so that it is visible from the outside.
To achieve this, by right-clicking on any area of the service tab, the View Code option will appear.

We add the following code,
We add the following code, where the important thing is these 2 variables:
- ServiceNamespace: Space name that was created in the Azure portal
- ServicePath: Local PC identifier.
https://{ServiceNamespace}.servicebus.windows.net/{ServicePath}- To finish the creation of the Local Service, we must now correctly configure the App.Config
After closing the “extensions” section we add the following configuration:
Finally, the App.config should look like this:
In the previous step, we must configure the section:
<sharedAccessSignature keyName="RootManageSharedAccessKey" key="ZzVoDnRDajEVAxeGsZOvWm12qyx9jc7wFCipGHgNkcg=" /> with the information previously stored from the Azure Portal in step 4 in the Create a namespace in the Azure Portal section
Tests in debug mode
Now, let’s run the project and run a couple of tests in Postman.
- When executing the project, 2 URLs will be created, one public and one private.
https://mybcconnector.servicebus.windows.net/MyLocalPC/MSIGLSIXSIX./
http://localhost:7777/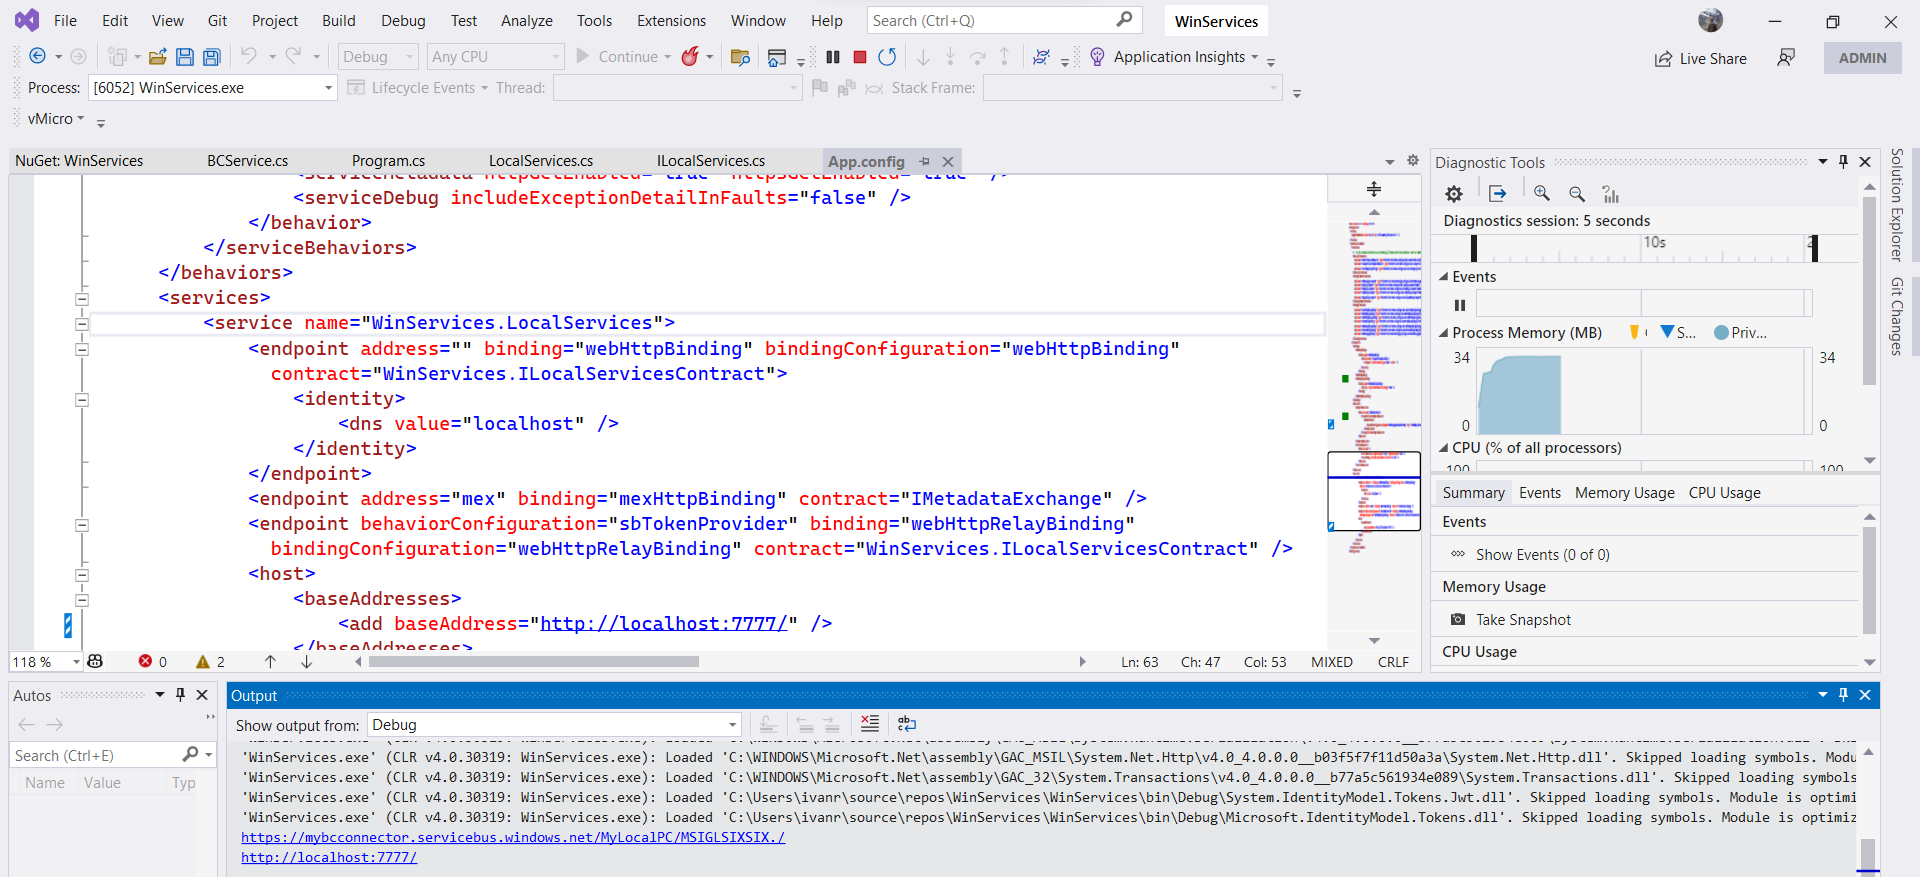
Additionally, if we go to the Azure portal we can also see the link that has been created.

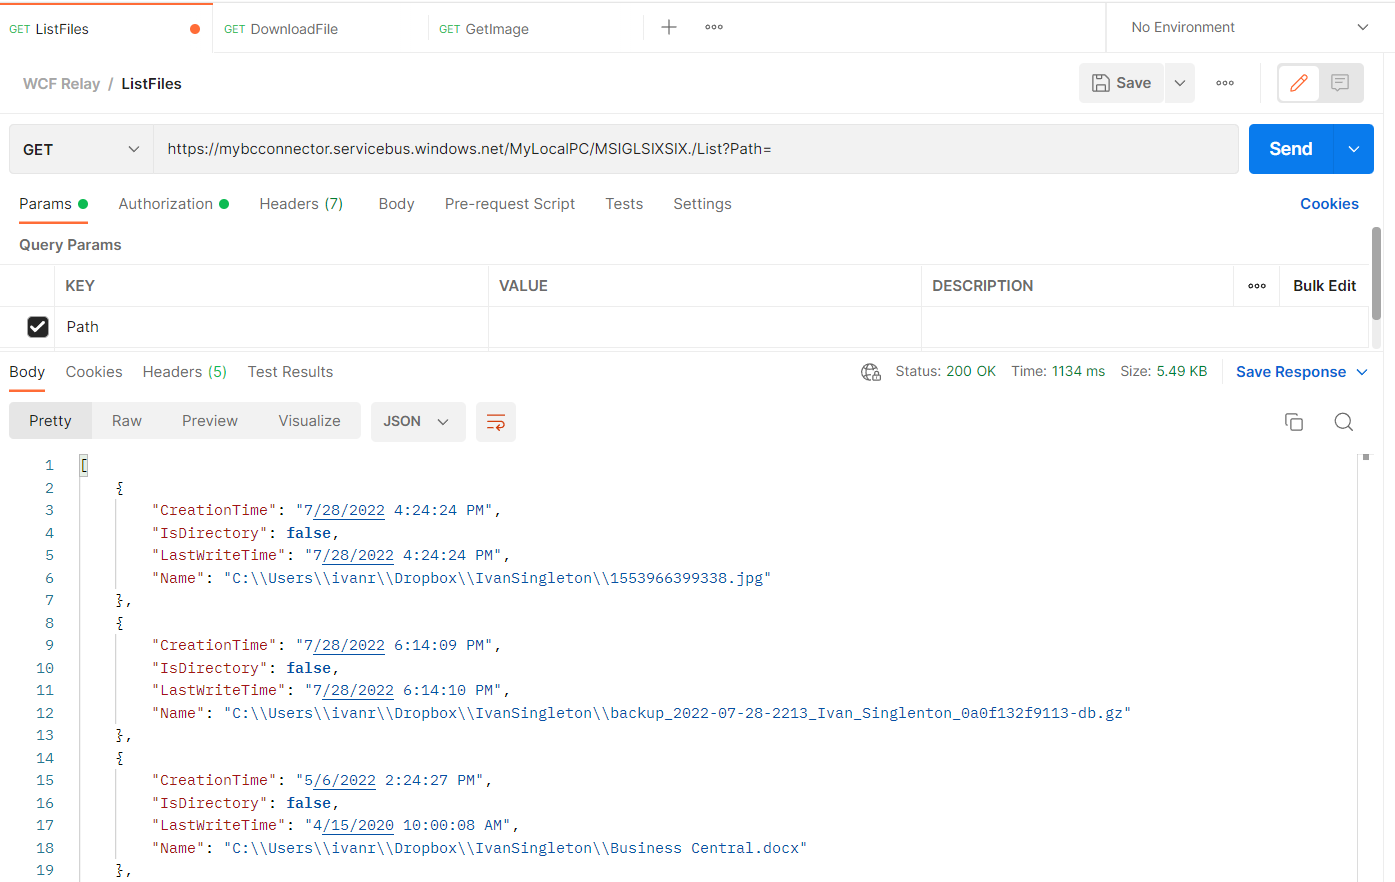
- Test In Postman: Method List
Once in the running project, we can do a couple of tests. For example list files.
- List method without parameters:
To do this we use the List method adding it to the end of the URL, and it would look like this:
https://mybcconnector.servicebus.windows.net/MyLocalPC/MSIGLSIXSIX./List?Path=As you can see, List is a method that receives a Path, this must be contained in the configuration assigned to the DefaultRootPath variable. That is, if we pass the empty parameters, it will list all the files and folders contained there, if we put the name of a folder that exists within DefaultRootPath, it will list only the content of that Path.
- List method with parameters:
Now, let’s try how it would be executed if we pass in one of the directories contained in the DefaultRootPath, in this case, I will use: BarcodeAzure, and the URL will be:
https://mybcconnector.servicebus.windows.net/MyLocalPC/MSIGLSIXSIX./List?Path=BarcodeAzure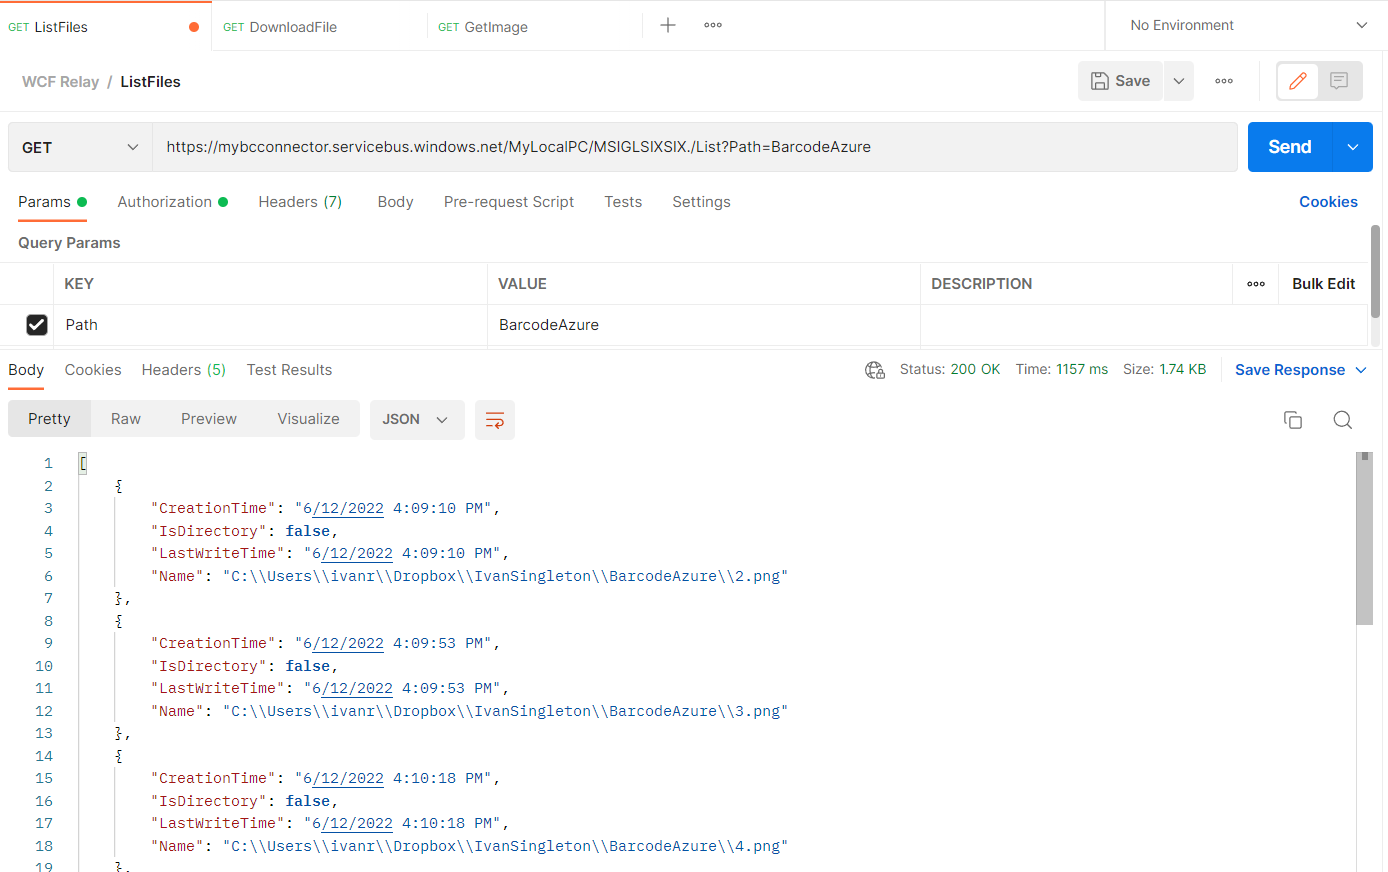
Installing the Service
Now it’s time to publish install our local service.
To do this we will do the following steps:
- Open CMD in administrator mode.
- Locate us in the following path:
cd C:\Windows\Microsoft.NET\Framework\v4.0.30319- Run the installation command:
InstallUtil.exe C:\Users\ivanr\source\repos\WinServices\WinServices\bin\Debug\WinService.exe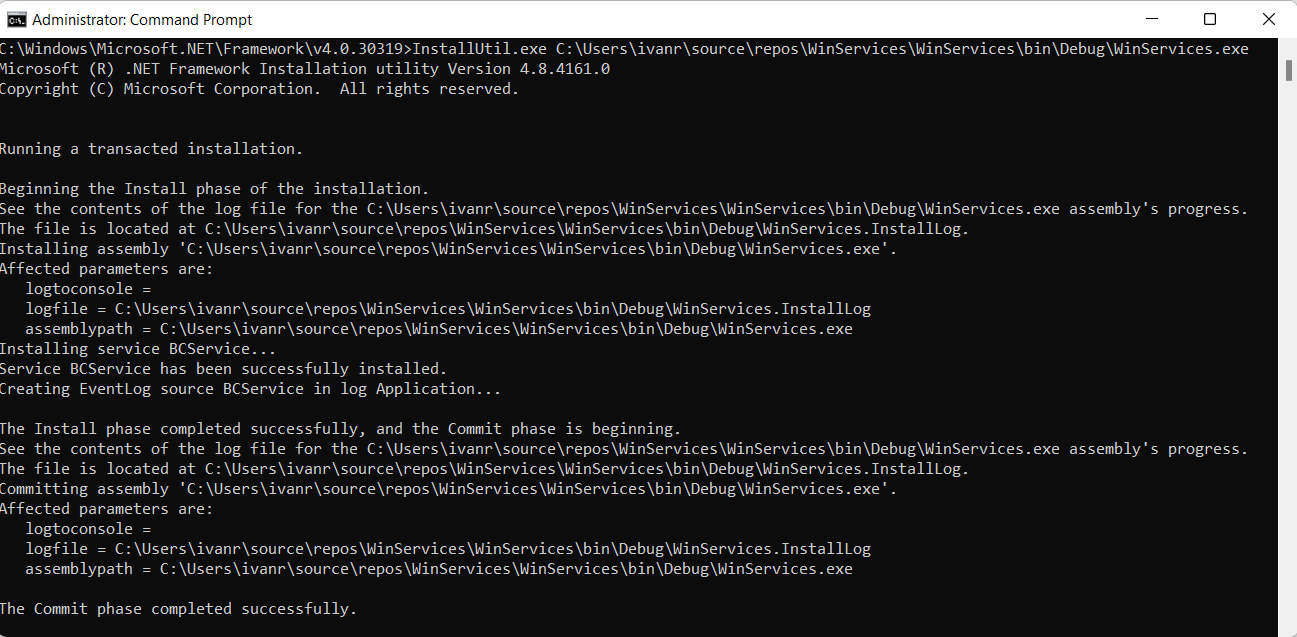
- We verify that the service is installed by going to Services.

- We start the service
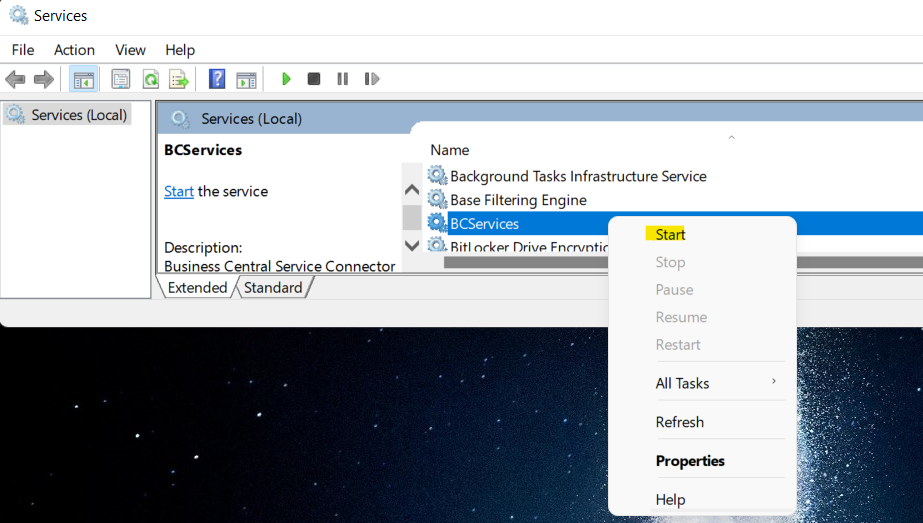
- Now our service requests should work as long as the service is not stopped.
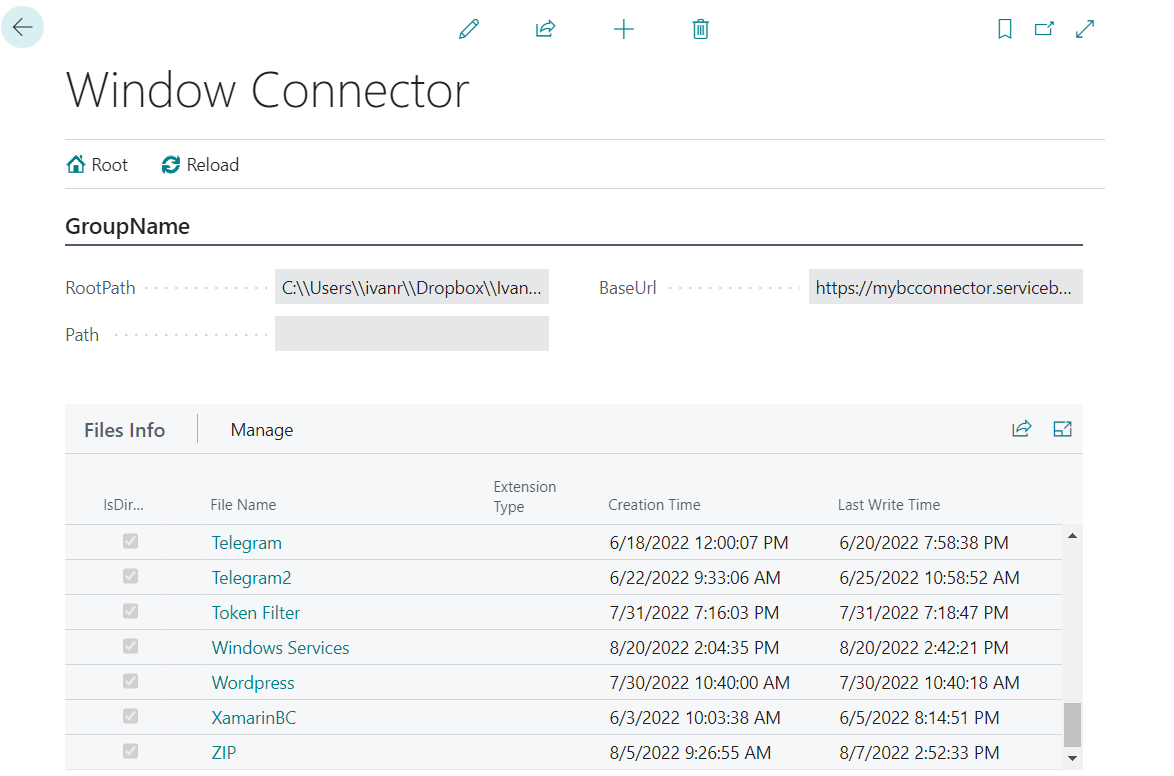
Business Central
Next, the code contemplated on the Business Central side will be shown, which is based on a page called “Window Connector” that allows us to navigate within the files to which the local windows service connects. It will also allow us to do some operations, such as downloading and deleting a specific file.
Tables
File Info
This table contains the basic information about the files and directories.
WindowConnectorSetup
This table contains the information on the Path that allows us to navigate between the local files that the local windows service connects.
Pages
Files Info
This is a page of type part, which will contain all the basic information of the files that it connects and was configured in the local service, which is embedded in the module called “Window Connector“
Window Connector
The page of the module allows us to navigate between the folders that the Local Service connects and return to the root. It also allows us to reload the page in case there is a change in the local files.
Codeunit
This codeunit is the most important code of the module since it is in charge of connecting with the local service.
The methods that were created for this post were: List, Delete, and Download.
WinServicesConnector
Conclusion
This was a nice post, showing us a way to achieve communication between Business Central and the file on a local pc.
The advantages of connecting to local files are many, especially that the local service can be modified for other purposes, such as sending commands to a fiscal printer, or some peripheral that requires being connected to a local PC.
This project can undoubtedly be improved, especially at the security level, which for this post were not implemented.
While researching local services, I came across a new approach called Worker Services that could replace the schema that the local service was built with.
For more information on how to create a local service visit this link from Microsoft.
For more information on the prices of use of the Azure WCF Relay, I share the following link.
Code on Github
All the code used in this post can be found in the following links:
Windows Services.
Business Central Connector.
I hope this has been helpful.
Great Post. Thank you very much for your efforts.
Just one question. Why there is no upload function in cu 50700?
Hello Andreas, thank you very much for your comment.
The real answer was due to lack of time, but it is not complicated to do it, with
procedure UploadIntoStream(DialogTitle: Text, FromFolder: Text, FromFilter: Text, var FromFile: Text, var InStream: InStream): Booleanand once we have obtained theInstreamwe can pass it to theUpload(string Path, Stream Content)function.